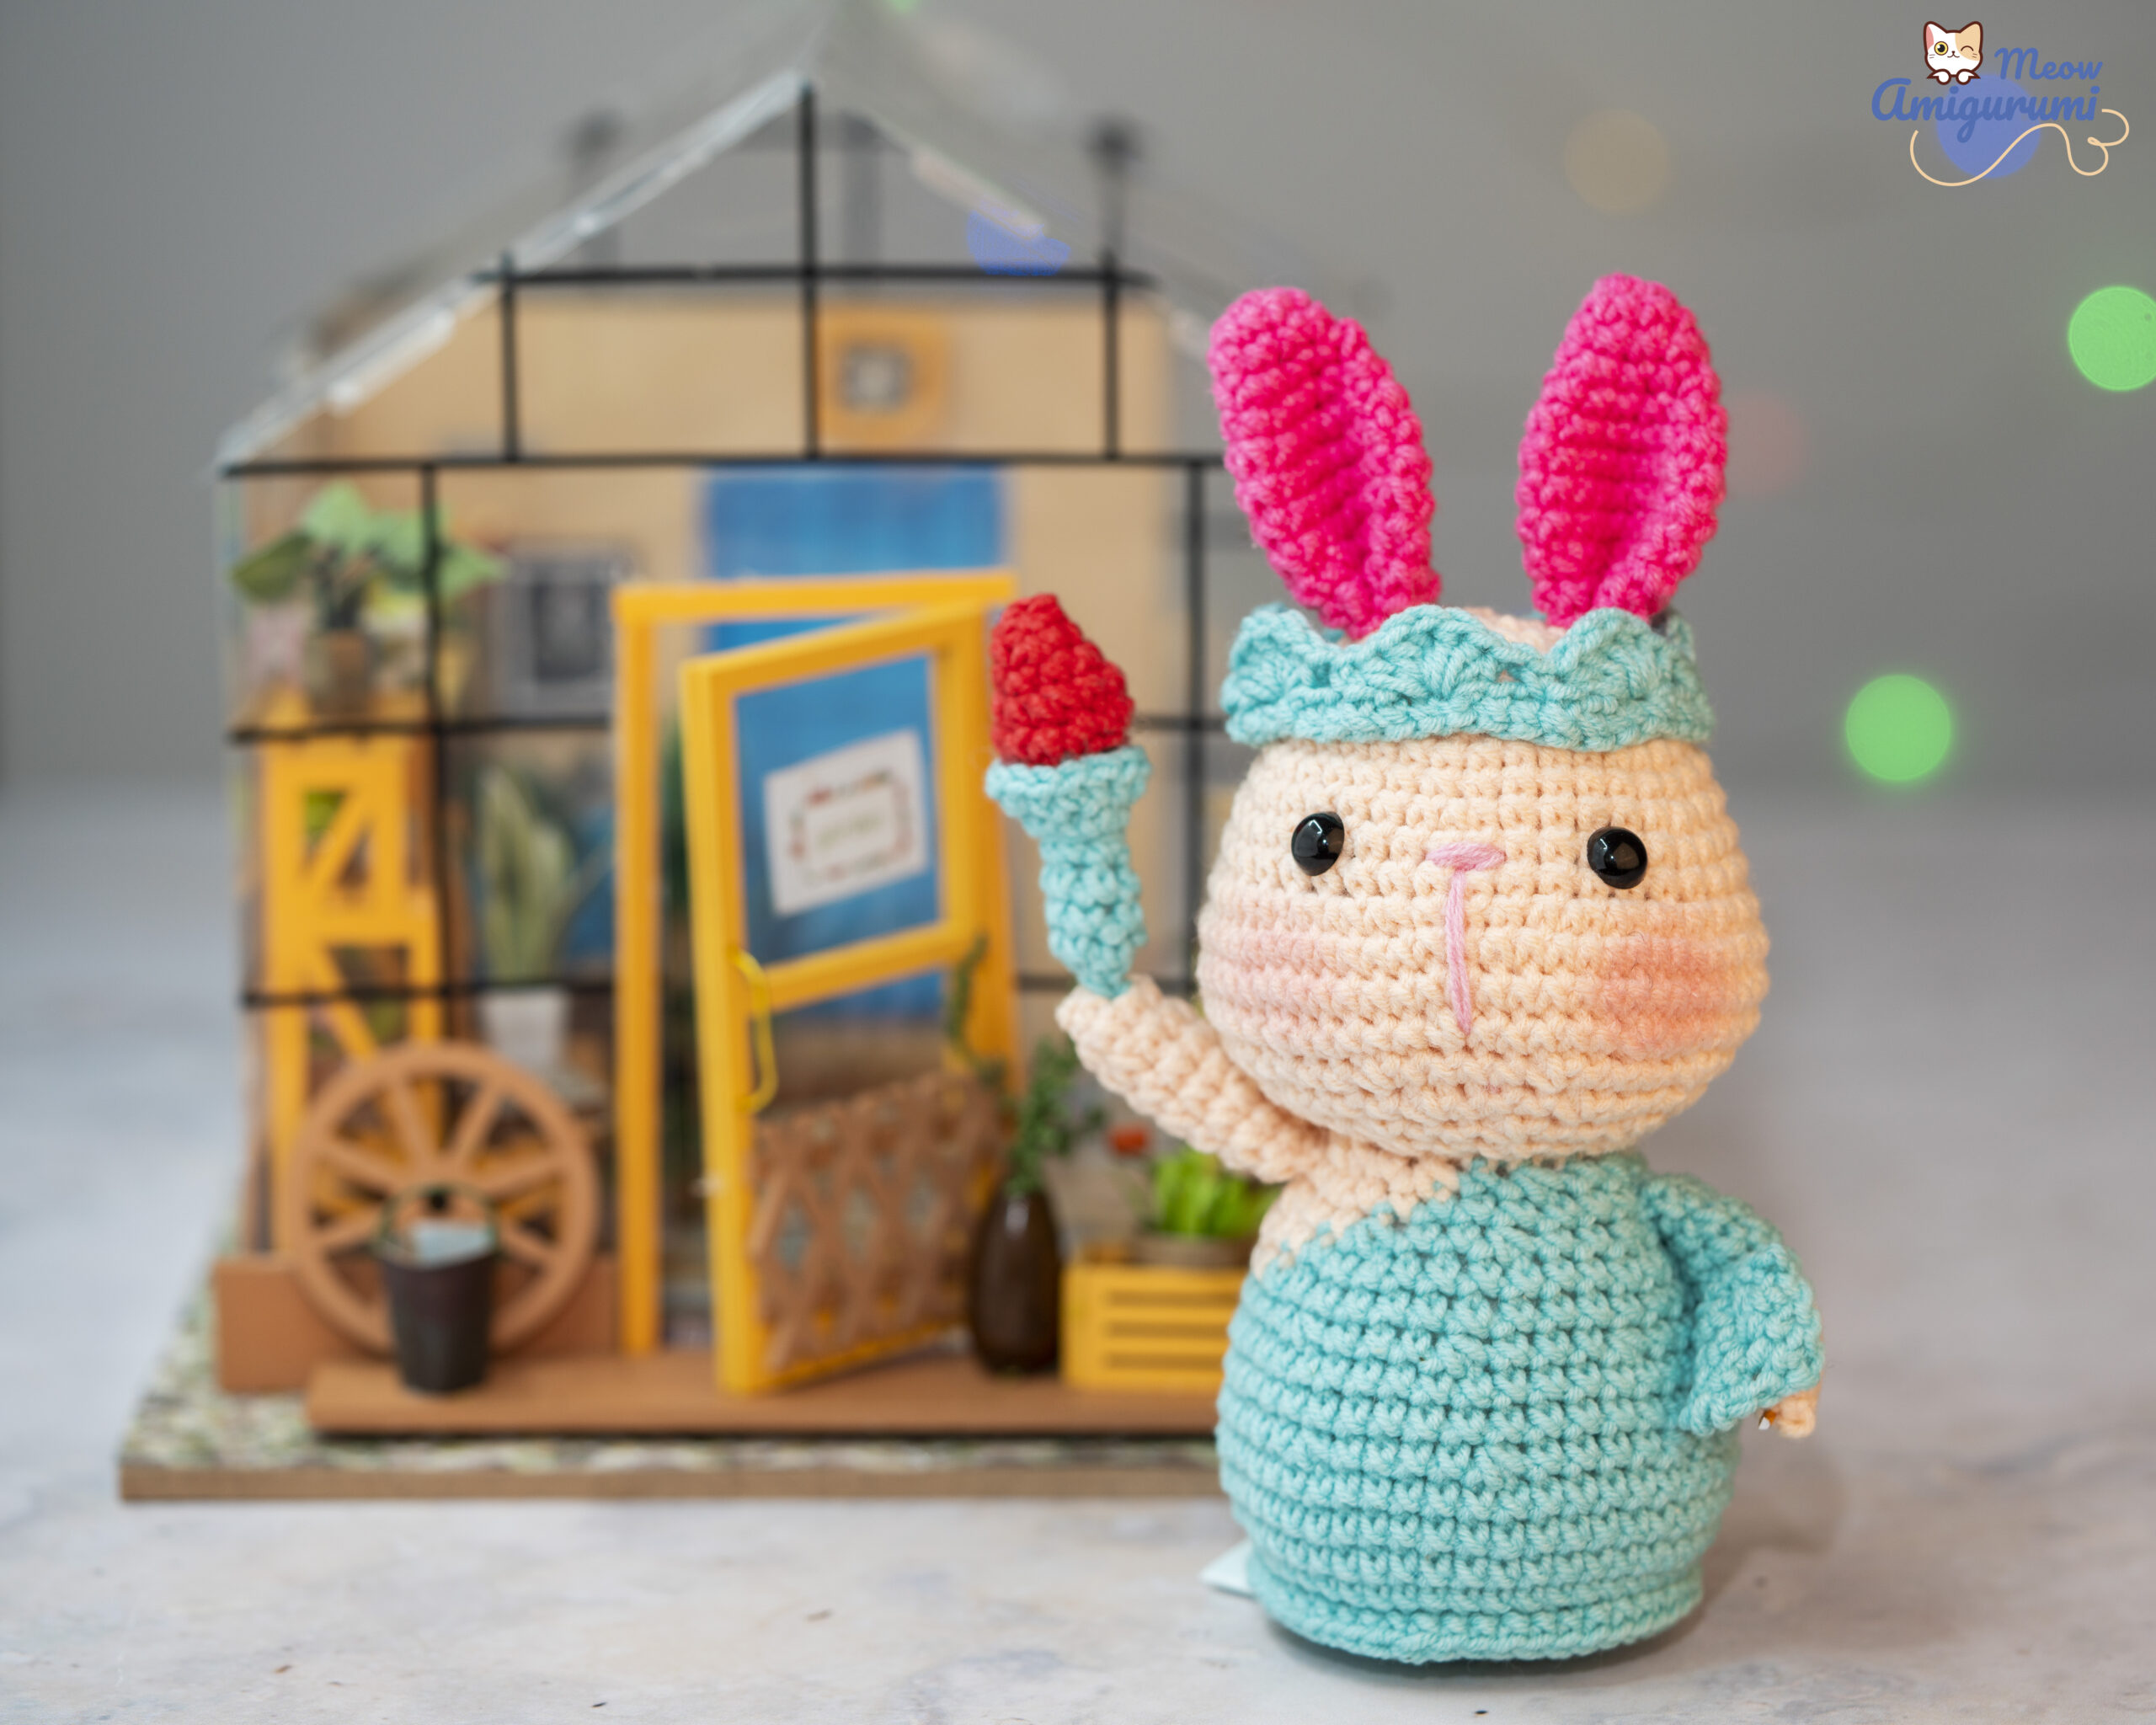
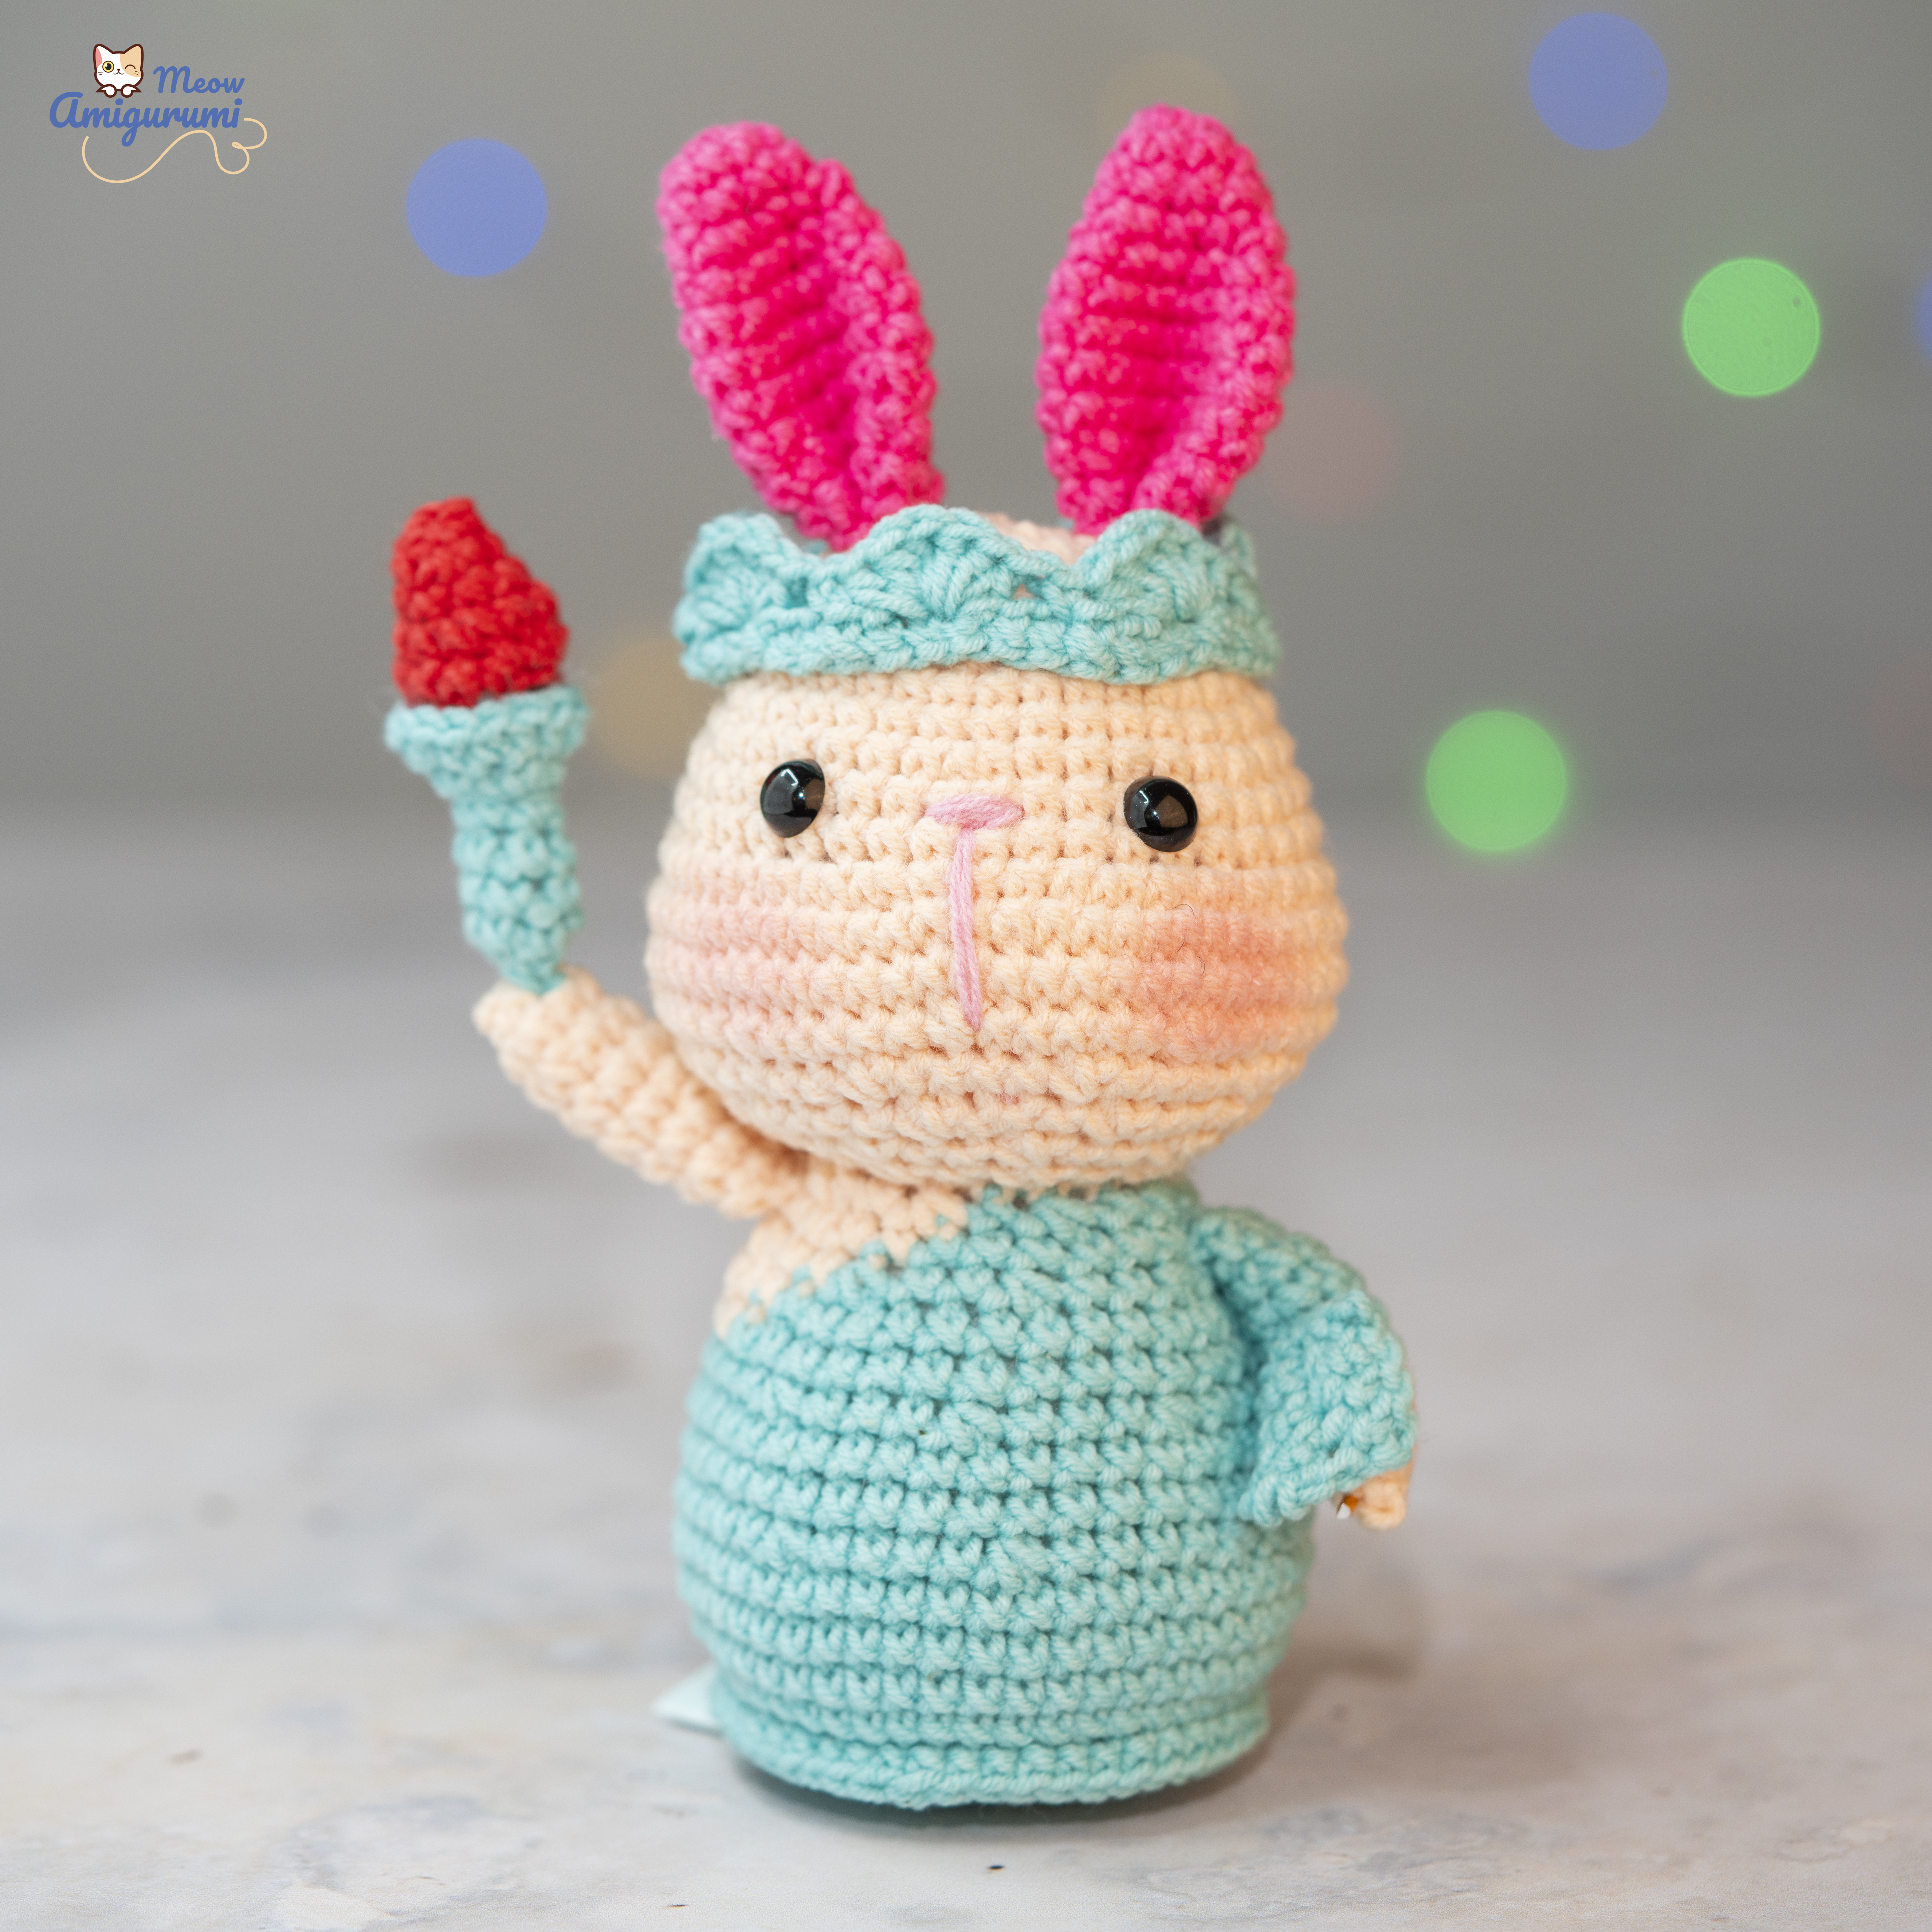
FOR PDF PATTERN PLEASE USE THIS CODE: HAPPYWOMENDAY in my Ravelry store: https://www.ravelry.com/patterns/library/liberty-bunny-2
(This code is valid until 11h59pm 08/02/2021)
Materials
Yarnart Jeans light pink 20 (20 gr)
Yarnart Jeans blue turquoise 76 (20gr)
Yarnart Jeans red 26 (10gr)
Yarnart Jeans pink 42 (10gr)
1 pair 7,5 or 8 mm safety eyes
2mm crochet hook
Fiber filling
Scissor, stick glue, yarn needle, markers, pin.
Finished Size
Approximately 15 cm.
Gauge: 24.0 sts = 4 inches
Abbreviations
MR: Magic ring
ch: chain
sts: stitch(es)
sl st: slip stitch
sc: single crochet
inc: increase
dec: decrease
dc: double crochet
hdc: half double crochet
fo: fasten off
FLO: Front loop only
BLO: Back loop only
rep: repeat
(number): total number of stitches in the round/row.
Difficulty: Intermediate
Useful Tips
You should use the Cross Stitch Single Crochet to make a beautiful bunny. Link video tuto:
You should crochet with tight stitches. If there are any holes through which stuffing material can be seen, use a smaller size hook.
Each round will be worked in a continuous spiral. Do not join rounds with slip stitch or turn unless the pattern indicates changes.
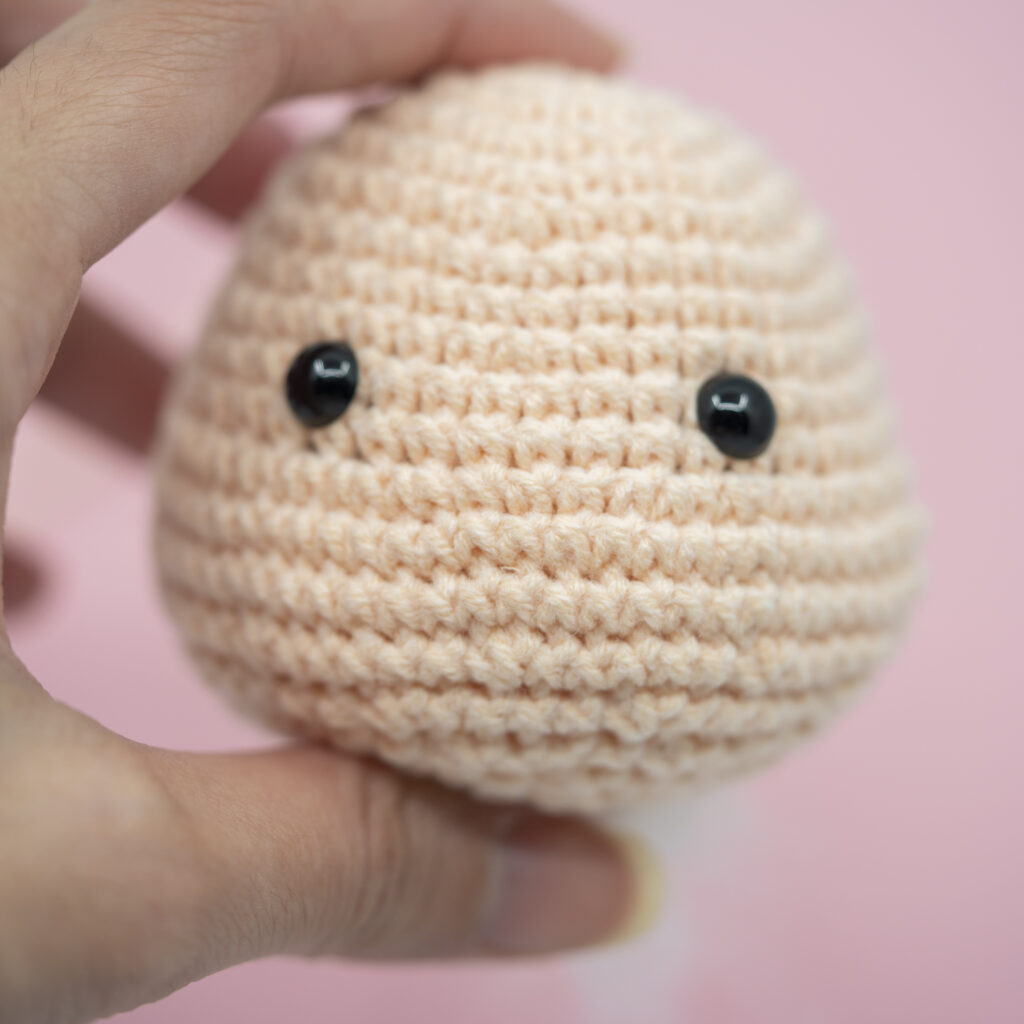
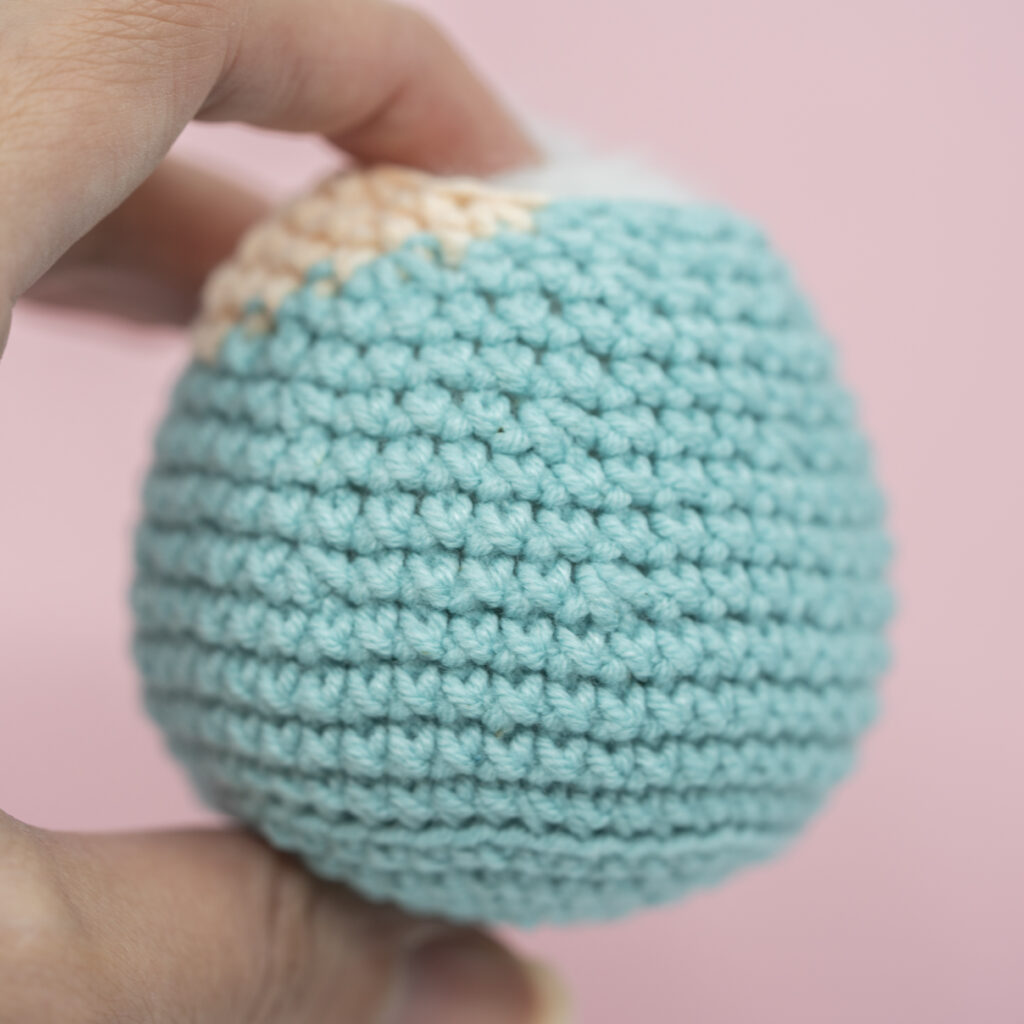
HEAD
Use peach yarn
Row 1: 6sc in MR (6)
Row 2: 6inc (12)
Row 3: (1sc, 1inc) * 6 (18)
Row 4: (2sc, 1inc) * 6 (24)
Row 5: (3sc, 1inc) * 6 (30)
Row 6: (4sc, 1inc) * 6 (36)
Row 7 – Row 8: 36 sc (36)
Row 9: (5sc, 1inc) * 6 (42)
Row 10 – Row 11: 42 sc (42)
Row 12: 12sc, 7inc, 4sc, 7inc, 12 sc (56sc)
Row 13-Row 14: 56sc (56)
Row 15: (5sc, 1dec) * 8(48)
Row 16: (2sc, 1dec, 2sc) * 8 (40)
Row 17: (3sc, 1dec) * 8 (32)
Row 18: (1sc, 1dec, 1sc) * 8 (24)
Row 19: (1sc, 1dec) * 8 (16)
Cut the yarn and leave a long tail for sewing. Place the safety eyes between rounds 10 and 11 at about 8 sts apart. Stuff with the fiberfill.
Use pink yarn to embroider the nose.
EAR (Make 2)
Use pink yarn
Row 1: 6sc in MR (6)
Row 2: (1sc, 1inc) *3 (9)
Row 3: 9sc (9)
Row 4: (2sc, 1inc) * 3 (12)
Row 5: 12sc (12)
Row 6: (1sc, 1inc) * 6 (18)
Row 7 – Row 8: 18sc (18)
Row 9: (1sc, 1dec) * 6 (12)
Row 10: 12 sc (12)
Don’t stuff the ear. Cut and secure the thread leaving enough for sewing. Fold it and sew the open edges closed. Sew the ear to the head on the row 3 and row 4.
BODY
Use blue yarn
Row 1: 8sc in MR (8)
Row 2: 8 inc (16)
Row 3: (1sc, 1inc)*8 (24)
Row 4: (2sc,1inc) *8 (32)
Row 5: (3sc,1inc) *8 (40)
Row 6: (4sc,1inc) *8 (48)
Row 7: BLO, 48sc (48)
Row 8 – Row 10: 48sc (48)
Row 11: (2sc, 1dec, 2sc) * 8 (40)
Row 12- Row 13: 40 sc (40)
Row 14: (3sc, 1dec) * 8 (32)
Row 15: Blue yarn: 18sc, Peach yarn: 6sc, Blue yarn: 8sc (32)
Row 16: Blue yarn: 17sc, Peach yarn: 8sc, Blue yarn: 7sc (32)
Row 17: Blue yarn (2sc, 1dec) * 4, Peach yarn: 2sc,1dec,2sc,1dec,2sc, Blue yarn: 1dec,2sc,1dec (24)
Row 18: Blue yarn: 11sc, Peach yarn: 10sc, Blue yarn: 3sc (24)
Row 19: Blue yarn: (1sc, 1dec) *3, 1sc, Peach yarn: 1dec, (1sc,1dec)*3,1sc, Blue yarn: 1dec (16)
(Hold the body upside down, go to R7, use blue yarn, insert 1 sc, FLO, 48 sc, join by 1 slst)
Cut and secure the yarn. Stuff with the fiberfill. Sew the body to the head.
ARM
First arm
Use peach yarn
Row 1 : 4sc in MR (4)
Row 2 : 4inc (8)
Row 3 – Row 9 : 8 sc (8)
Cut and secure the yarn. Stuff a little with fiberfill.
Second arm
Use peach yarn
Row 1 : 4sc in MR (4)
Row 2 : 4inc (8)
Row 3 – Row 4: 8sc (8)
Change to blue yarn
Row 5 – Row 9 : 8 sc (8)
Cut and secure the yarn. Stuff a little with fiberfill.
Put the soft wire into the arm. Sew the arm to the body between row 17 and row 18.
WAND
FIRE
Use red yarn
Row 1 : 4sc in MR (4)
Row 2 : (1sc, 1inc) * 2 (6)
Row 3 : 6sc (6)
Row 4: 6inc (12)
Row 5: 12sc (12)
Row 6: 6dec (6)
Cut the yarn and leave a long tail for sewing. Stuff it.
WAND
Use blue yarn
Row 1: 6sc in MR (6)
Row 2 – Row 4: 6sc (6)
Row 5: FLO, 6inc (12)
Row 6: (3sc, 1inc) * 3 (15)
Cut and secure the yarn. Sew the fire to the wand. Sew the wand to the arm.
BOOK
Use blue yarn
Row 1: Chain 5, 4sc, turn back (4)
Row 2 – Row 5: 1ch, 4sc, turn back (4)
Cut the yarn. Sew the book to the arm.
CROWN
Use blue yarn
Row 1: Chain 42, join by 1 slst (42)
Row 2: 42 sc (42)
Row 3: (Skip 2st, 2HDC in the same st, 2DC in the same st, 2HDC in the same st, skip 2st, 1sc in the next st )* 7.
Cut and secure the yarn.
HAPPY CROCHETING AND THANK YOU!
Copyright © Meow.amigurumi – ALL RIGHTS RESERVEDProtected by Canada copyright laws worldwide. Your pattern is for personal use only. You may not sell or share the pattern in any form, or distribute it (full or partially), or post it on the Internet, or translate it into other languages without the prior written permission of Meow.Amigurumi.
You can sell the finished products created from this pattern. Any items for sale must state in the item description that they are based on ‘Meow.Amigurumi’ pattern.
The items you sell based on this pattern must feature only your own photographs. You do not have permission to use my photographs to help sell your work.
Contact Info
If you have any questions about the pattern, you’re welcome to contact me.
Etsy shop: https://www.etsy.com/ca/shop/MeoWKnittingBoutique
Instagram: https://www.instagram.com/meow.amigurumi/
Youtube: https://www.youtube.com/channel/UCcqKibdDfBvUUrcDYMAv0ig
Facebook page: https://www.facebook.com/meowamigurumi-101696844519434/
Website: http://meowamigurumi.com/